


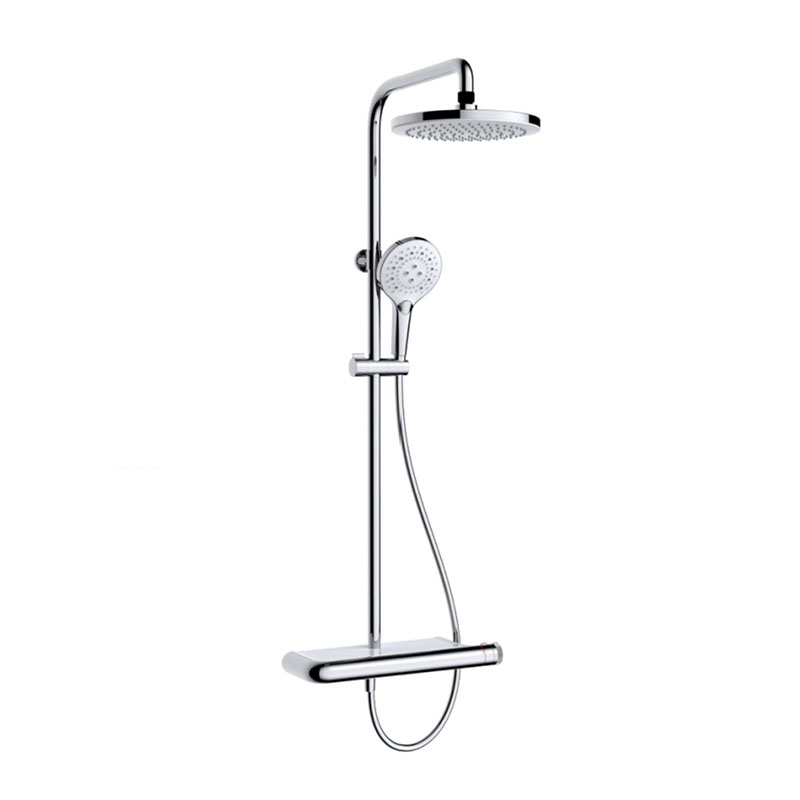
How To Install Tub And Shower Set
Start With Water Supply And Rough-In Check
Installing a tub and shower set starts with checking the water supply, wall structure, valve position, tub spout outlet, shower arm height, and drainage layout. Before any installation work, the water supply should be shut off and the old trim, handle, shower head, and tub spout should be removed carefully. If the existing valve body is worn, leaking, or incompatible with the new system, it should be replaced before the wall is closed.
Common plumbing fitting standards such as ASME A112.18.1 and CSA B125.1 cover performance requirements for faucets and shower fittings. In the U.S. market, many showerheads are designed around a maximum flow rate of 2.5 gpm at 80 psi, while WaterSense showerheads use 2.0 gpm or less as a water-saving reference. These figures show why flow rate, water pressure, valve quality, and installation accuracy should be reviewed together.
Main Installation Steps For A Tub And Shower Set
After confirming the rough-in, install the mixing valve at the correct depth according to the wall finish thickness. Connect hot and cold water lines, then connect the upper outlet to the shower arm and the lower outlet to the tub spout. The valve must be level and firmly fixed to prevent handle misalignment after tiling.
Once the wall finish is complete, install the trim plate, handle, shower arm, shower head, tub spout, and hand shower parts if included. Seal exposed joints carefully, but do not use sealant to cover poor pipe alignment. After installation, test hot and cold water, diverter function, water flow, leakage points, and temperature control.
Tub And Shower Set Installation Guide
| Installation Part | Key Checkpoint | Professional Advice |
|---|---|---|
| Mixing valve | Correct depth and stable fixing | Match valve position with wall thickness |
| Water lines | Hot and cold connection direction | Test before closing the wall |
| Tub spout | Straight outlet and firm connection | Avoid loose fitting or backflow issue |
| Shower arm | Proper height and sealed thread | Check angle before final tightening |
| Trim and handle | Smooth operation and clean finish | Confirm alignment after installation |
| Final testing | Flow, temperature, leakage, diverter | Test under real water pressure |
How TOPSHINE Supports Shower System Projects
As a Shower Mixer manufacturer, TOPSHINE focuses on Shower Column Sets, Thermostatic Shower Mixers, concealed shower mixers, Faucet Shower Mixers, shower heads, hand showers, slide bars, shower arms, and bathroom accessories. Our team understands that a tub and shower set should not only look modern, but also support stable water control, practical installation, reliable sealing, and long-term maintenance.
For wholesale shower system orders and project supply, we can help review valve structure, cartridge performance, flow requirements, finish options, installation type, packaging method, and OEM/ODM customization details before production. A suitable tub and shower set can improve bathroom comfort while reducing installation risk for hotels, apartments, dormitories, retail channels, and commercial bathroom projects.
Share your bathroom layout, water pressure range, finish requirement, target market, order quantity, and project schedule with our team. We can recommend a practical tub and shower set solution that balances installation efficiency, comfort, durability, and supply stability.
Previous: How To Set A Tub Shower